Customizing Forms
Accountinite allows you to customize forms by adding custom fields to existing document types. This feature enables you to extend the default functionality to match your specific business requirements.
Enabling Form Customization
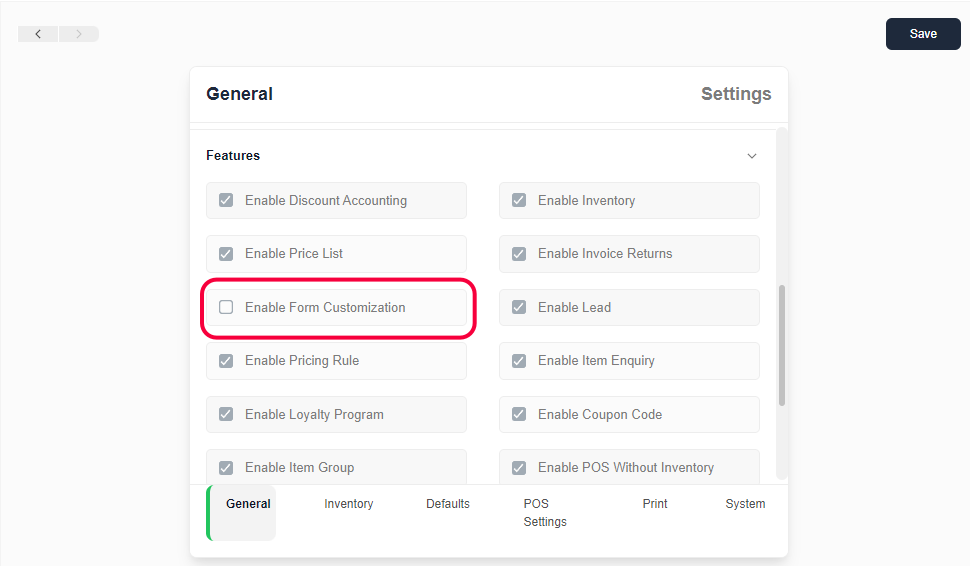
Before you can customize forms, you need to enable the feature:
- Go to
Settingsin the main navigation - Navigate to
Accounting Settings - Check the
Enable Form Customizationcheckbox - Save the settings
Once enabled, you'll see a Customize Form option in the main navigation menu.
Accessing the Customization Interface
After enabling form customization:
- Click on
Customize Formin the main navigation menu - Select the form type you wish to customize from the dropdown menu
- Add and configure custom fields as needed
Adding Custom Fields
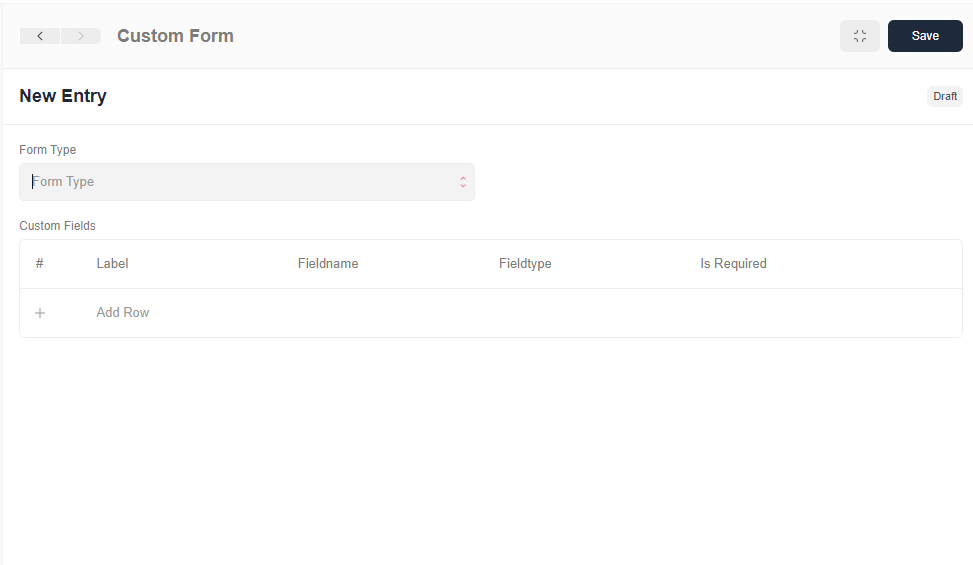
To add custom fields to a form:
- Select the form type you want to customize (e.g., Party, Item, Sales Invoice)
- Click on the table row under "Custom Fields" to add a new field
- Configure the field properties:
- Label: The display name for the field
- Fieldname: The internal identifier (auto-generated from label)
- Fieldtype: The type of field (Data, Select, Link, Date, etc.)
- Is Required: Whether the field is mandatory
- Default: Default value for the field
- Form Section: Section where the field appears
- Form Tab: Tab where the field appears (for forms with tabs)
- Options: Available options for Select and AutoComplete fields
- Target: Related document type for Link fields
- References: Reference field for DynamicLink fields
Field Types
Accountinite supports various field types for customization:
- Data: Simple text input
- Select: Dropdown with predefined options
- Link: Links to other document types
- Date: Date picker
- Date Time: Date and time picker
- Table: Sub-table with multiple rows
- Autocomplete: Text input with suggestions
- Check: Checkbox for boolean values
- Attach Image: Image upload field
- Dynamic Link: Links to different document types based on another field
- Int: Integer number input
- Float: Decimal number input
- Currency: Currency amount input
- Text: Multi-line text input
- Color: Color picker
- Attachment: File attachment field
Using Custom Fields
Once you've added custom fields:
- The fields will appear on the corresponding forms
- Fill in the custom field values when creating or editing documents
- Custom field values are saved along with the document
- Custom fields appear in reports and exports where applicable
Managing Custom Fields
You can modify or remove custom fields at any time:
- To edit: Click on the field row in the customization interface
- To remove: Delete the row from the custom fields table
- Changes take effect immediately for new entries
Data Loss Warning
Removing a custom field will also remove all data previously entered in that field. The data cannot be recovered after deletion.
Best Practices
- Plan your custom fields before implementing them
- Use clear, descriptive labels for easy identification
- Group related fields under the same section
- Consider whether a field should be required for data integrity
- Test customizations with sample data before widespread use