Create Initial Entries
Let’s create some initial entries before you can start recording your transactions.
Add Additional Bank Accounts
Add any bank accounts your business has apart from the one already added in the Setup.
Navigate to the Chart of Accounts page from the sidebar.
Setup > Chart of Accounts
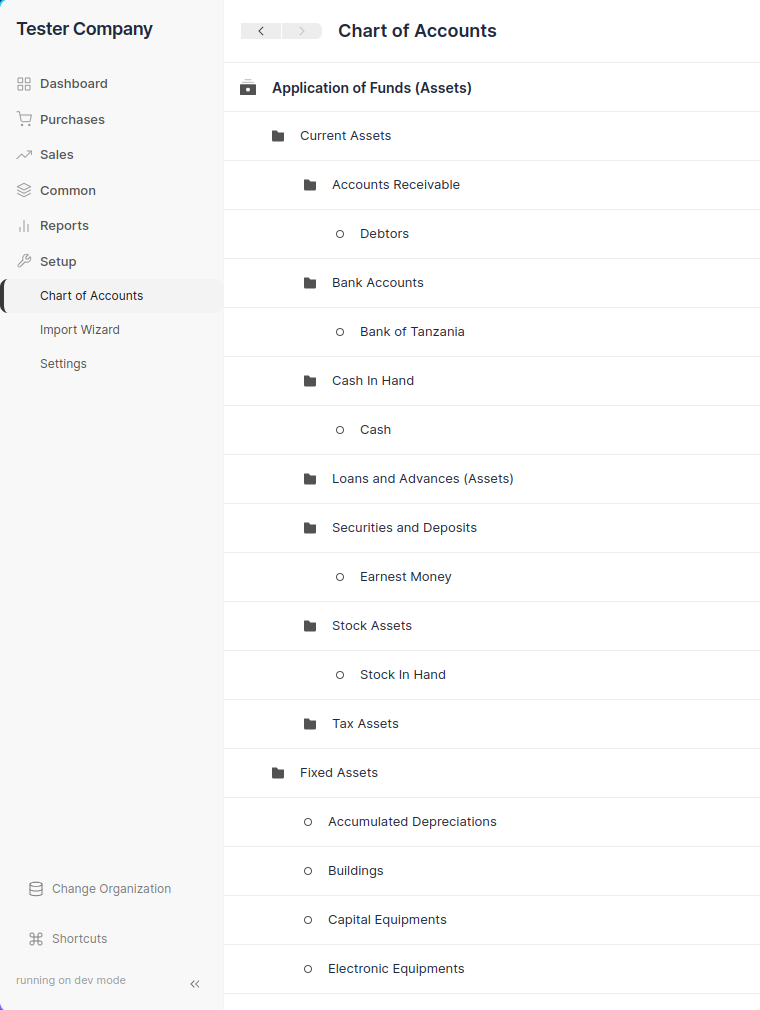
Then open the Bank Accounts group and click on Add Account.
Application of Funds (Assets) > Current Assets > Bank Accounts > Add Account
Enter the bank account name and press enter to create it. You can now transfer funds in and out of this bank account.
Add Sales Items
One of the most important things you will add in Books are your products or services that you provide to your customers. Navigate to Sales Items
Sales > Sales Items
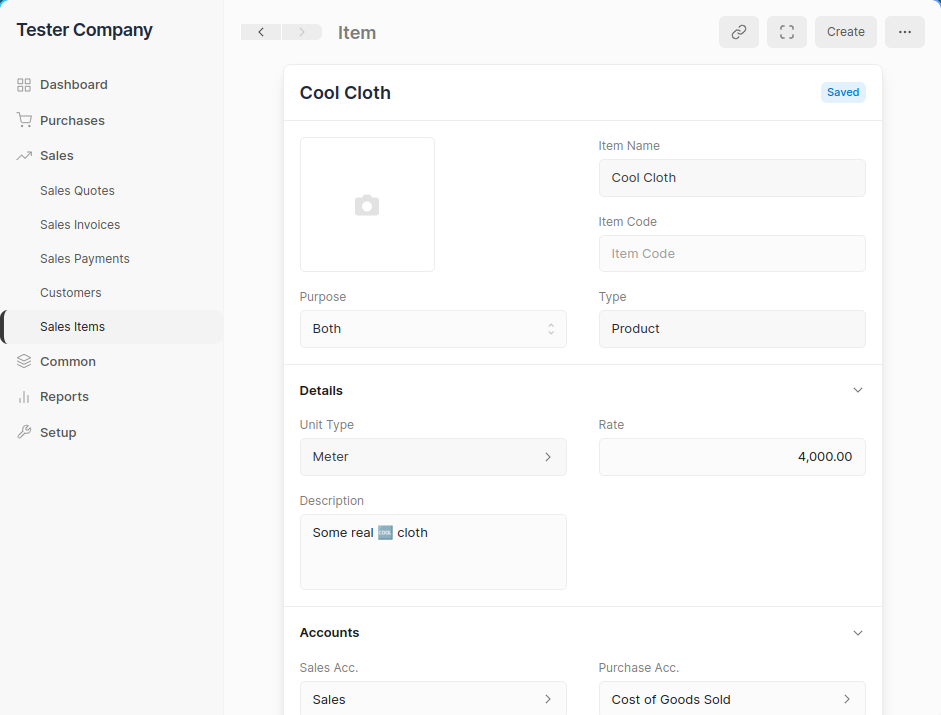
- Create a New Item Entry: Click on the
+button. Enter the Name and the Rate - Select Type: Select if your Item is a Product or Service.
- Click on Save.
You can set or change the other details for the item. Such as the Income or Expense accounts.
You can even set an image for the item.
For more information on Sales Items in Accountinite click here.
Add Customers
Add your Customers to record their details and select them in Sales Invoices. First navigate to Customers
Sales > Customers
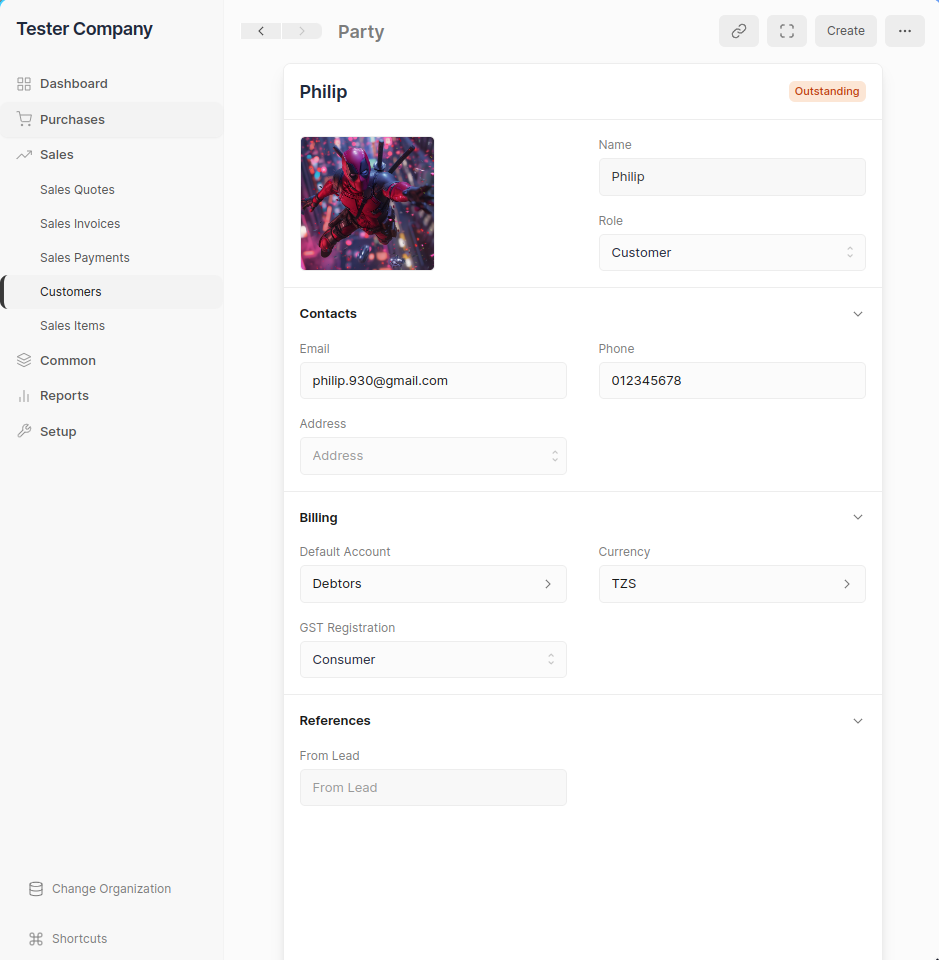
- Create a New Customer Entry: Click on the
+button. Enter the name of of the customer - Click on Save
You can enter additional details such as Email and Phone in the Customer entry. This will be shown when creating a Sales Invoice PDF.
For more information on Customers in Accountinite click here.
You can now move onto the next step to set your Opening Balances.